Hacks, hobbies, and side hustles: Big hats
Caitlin MacRae’s yearly contribution to a Kentucky Derby tradition
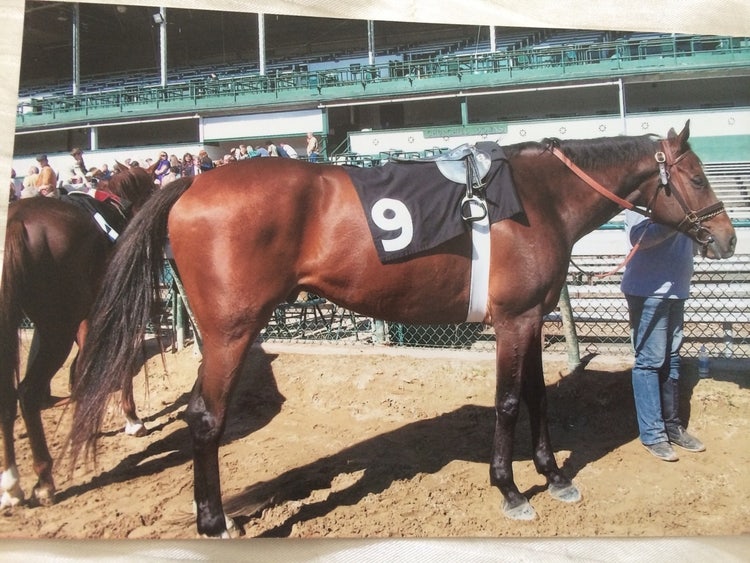
I’m a user experience research manager with a singular creative talent: making Kentucky Derby hats. For anyone unfamiliar with it, the Kentucky Derby is a horse race that happens every year and it’s steeped in tradition—primarily the traditions of wearing big hats and drinking Mint Juleps.
I’m not super invested in the outcome of the Derby, or horse racing in general, but I’m really into fancy hats and excuses to throw parties with my friends. I’m here to impart the secrets behind my process in case you too would like to make your own silly hats someday.
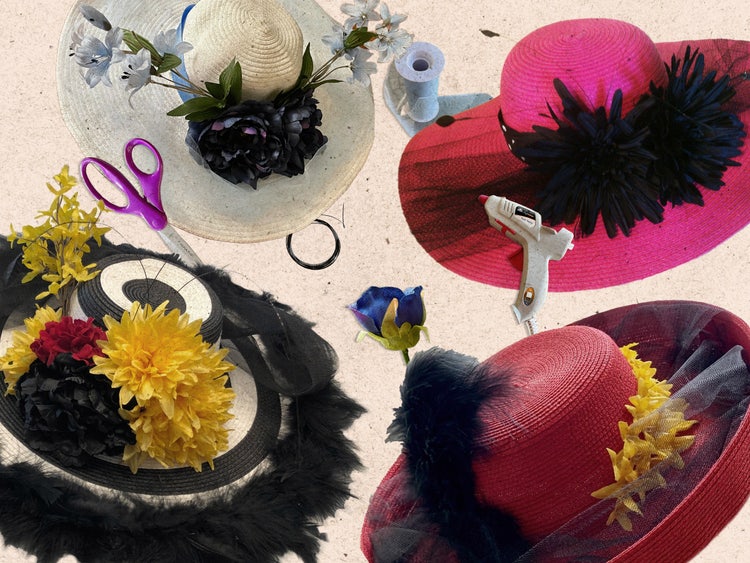
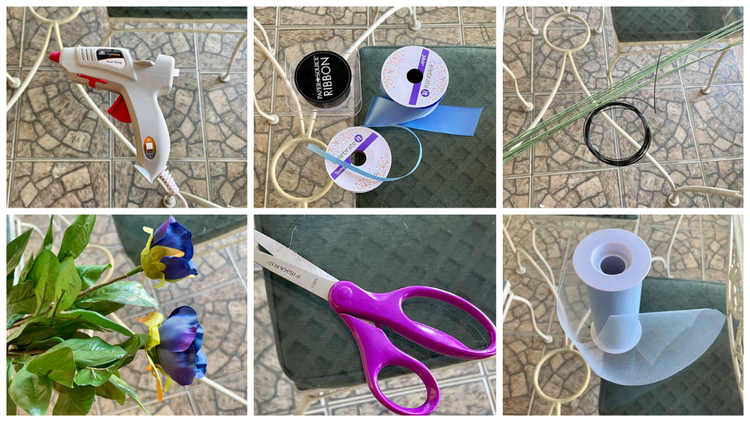
Typically, my hats are created in service of preparing for a party and hanging out with my friends. My supplies are standard: A hot glue gun plays a prominent role along with florist wire, scissors, ribbon, and anything else that’s small enough and light enough to wear on top of my head for an entire day. The primary thing to remember is that these hats can be embellished with anything so it's a time to be creative and let imagination run wild.
Although creatively anything goes, I’ve developed a five-step design process that works for me year after year:
1. Inspiration
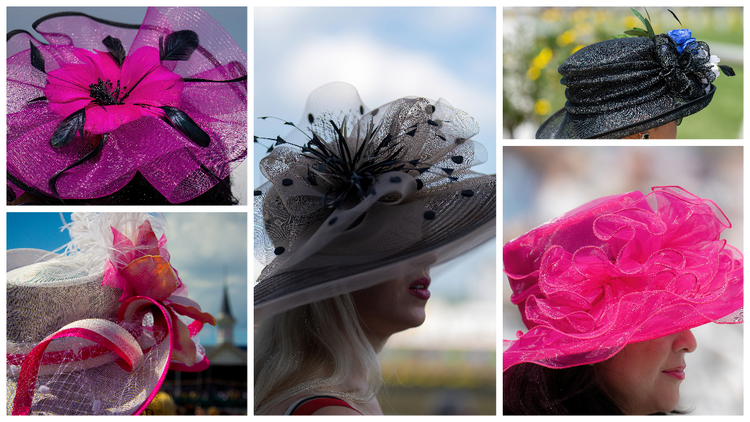
Every year, about a month before I start working on a hat, I begin scouring the Internet to find inspiration. I usually start with image searches for big hats and save screen shots of anything that I fancy. I look for interesting color schemes, fun decorations, and creative ideas. Eventually I start mixing-and-matching ideas from everything I see that I like to form some sort of idea or concept of what I’d like to put together. With those ideas in mind, I shop.
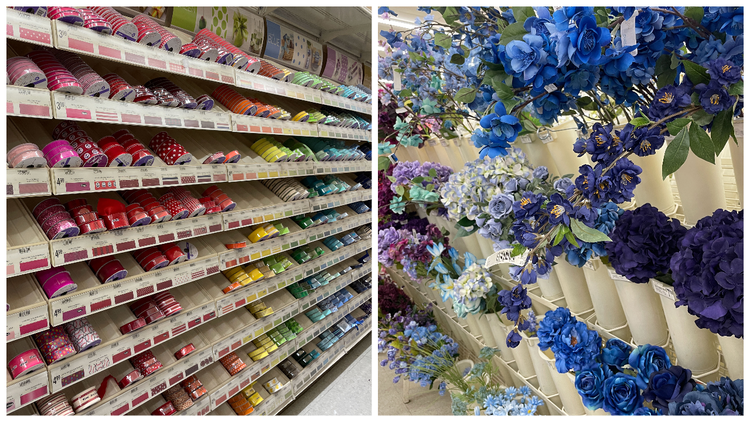
2. Shopping
Shopping typically involves finding a big plain hat with an interesting shape, then wandering the aisles of craft stores to look for supplies to decorate it. Wandering is a key source of inspiration since my designs typically come together through a mix of whichever “base hat” I end up getting and whatever supplies are available. I go into craft stores with a basic idea of what I’d like to put together, and I leave with what’s available. Once I have everything together, I start putting the details in place to begin my assembly.
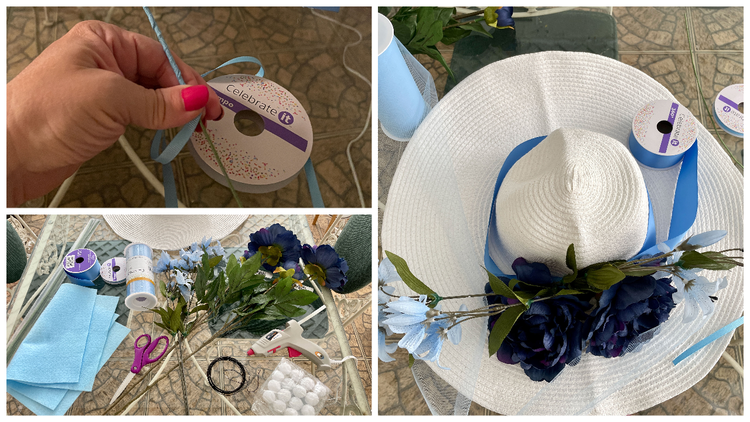
3. Assembly
Very straightforward, assembly consists of gluing things to a hat. But first it can also require me making some of the embellishments myself. I do some amount of combining and creating the different components that will eventually be attached. I put things next to each other, see how they look, and loosely arrange and rearrange to get a feel for the style and shape.
Once I’m happy with how things look. I take out the glue gun. The fun really begins once I start attaching lower items around the base and building up... even though there’s usually an accompanying flash of panic about whether it will all come together.
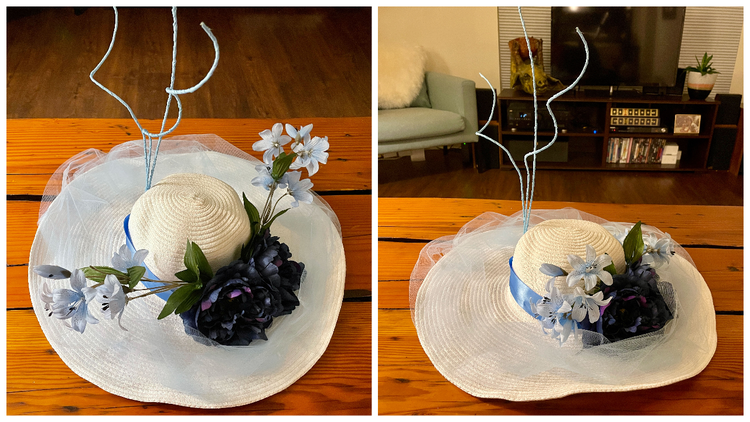
4. Adjustments
My next step is to put the hat on, see how it looks, and adjust decorations and flowers as I need to. These adjustments usually involve tightening up the flower arrangements, adding small details to balance out the design, and making sure it looks good from every angle. I try the hat on several times to make sure that the decorations are in the right spots and that it frames my face the way I want it to.
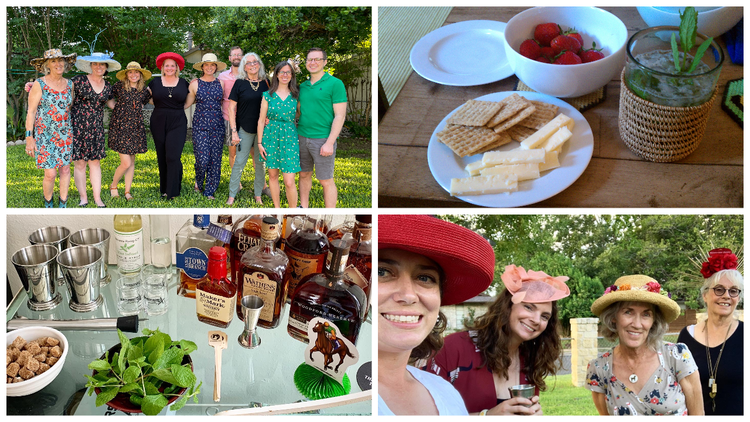
5. Enjoy
Throw a party. Invite some friends. Make Mint Juleps. Ask everyone to wear a hat. Watch the race. And just enjoy the day.
As much fun as it is, there are a handful of challenges with Kentucky Derby hat-making:
- Height: Working against gravity to give things dimension and get them to stand up and stay standing.
- Mobility: It’s important to really think through how to navigate indoor spaces without bonking into walls and objects
- Storage: F inding a place to keep all these gigantic hats when they’re not on my head is an ongoing struggle. Right now, I store them on top of a bookshelf, but I’ve thought about mounting them on a wall.