Whiteboarding 101
A seize-the-marker guide to collaborating in meetings
Illustration by Beci Orpin
Everything in it is based on practical knowledge picked up over years of guiding workshops and filling whiteboards at agencies, Facebook, Twitter, and now at Adobe. If you’re a designer, product manager or engineer who wants to have more focused, collaborative meetings, hopefully this will give you a few ideas.
Note: All slides were done with a bullet-tip dry-erase marker on copier paper because... practice what you preach.
Why go to the whiteboard?
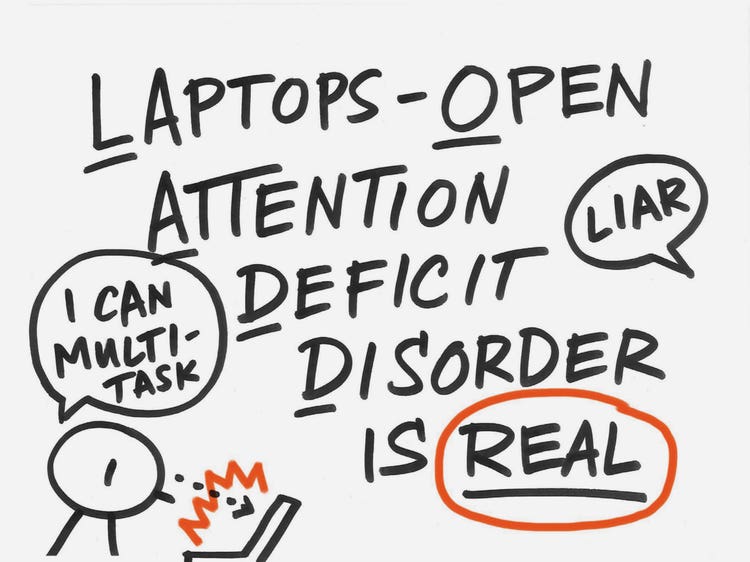
Between Slack, Email, Keynote, XD, wikis, Trello, and 15 other collaboration, project planning, and messaging apps, why would you even need to get so… analog? This is a rhetorical question. I think we all know why. Because of LOADD: Laptops Open Attention Deficit Order. LOADD is real.
Every time you casually open your laptop or flip over your phone, 100 apps call your name. Suddenly you’re compelled to Slack that mission-critical meme making the rounds of your dev team, or review a boatload of notifications on Twitter. There are so many things more important than that strategy slide your boss’s boss is sharing about Q2 KPIs. There aren’t really, but you let yourself think that. Bringing your attention and critical thinking back to the matter at hand is a herculean feat. That’s where whiteboards come in.
Focus, focus, focus
Going to the whiteboard is an excellent way to capture people’s attention, refocus the meeting, and guide the conversation to more productive outcomes. If people see you really listening, writing down their ideas, and integrating them into a meaningful discussion they’re more likely to drop their distractions and collaborate.
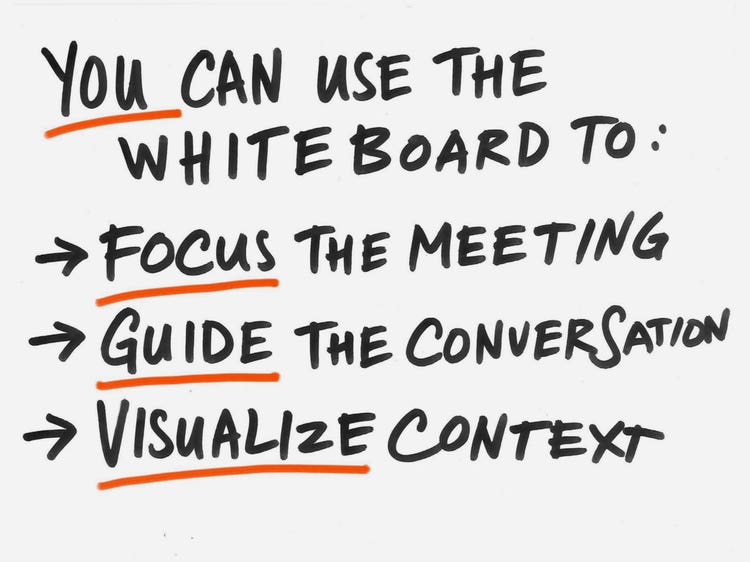
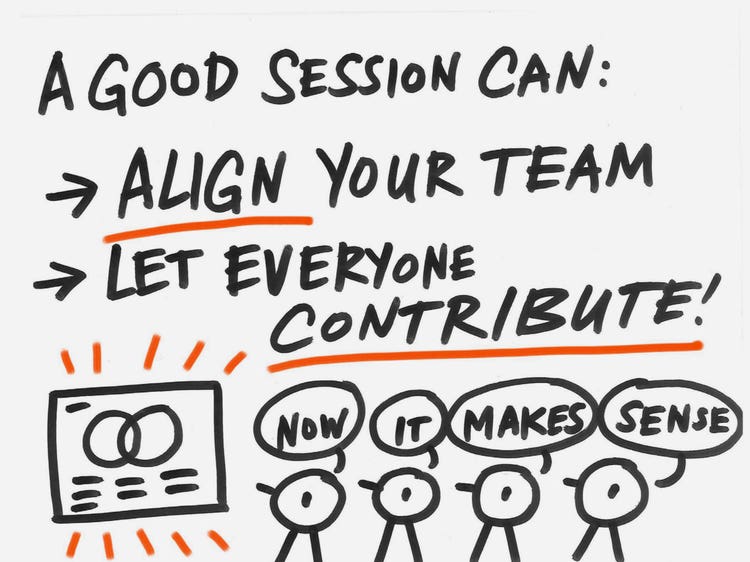
Whiteboard sessions are a great way to map out the context around the decisions you need to make, align your team around shared goals and expectations and, most importantly, let everyone contribute. Instead of meetings feeling like one-way broadcasts, they’re more like a play, where everyone can have a voice and play a part.
Who should you whiteboard with?
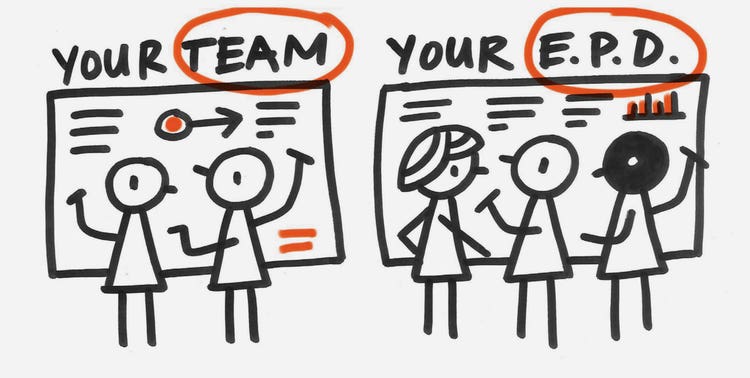
You should whiteboard with anyone: your team, your cross-functional peers, your boss, anyone with whom you need to accomplish a creative or strategic goal. Whiteboarding with other people opens up the creative process, so that people don’t feel that they have to have everything figured out before they contribute. It lets groups form ideas together, and build a shared understanding of the problem.
You should whiteboard with anyone: your team, your cross-functional peers, your boss, anyone with whom you need to accomplish a creative or strategic goal.
Whiteboarding with other people opens up the creative process, so that people don’t feel that they have to have everything figured out before they contribute. It lets groups form ideas together and build a shared understanding of the problem.
If you work at a tech company (or any large organization) you spend half of your meetings deciphering code names and acronyms. Is that the IUS RPQ or the CDX Redux you’re working on? Is that Project Sharknado or Project Mothra that will handle all the new data? The jargon creates an abstraction layer that makes it hard to know what anyone is talking about. A few boxes and arrows on the whiteboard can make it clear what you actually mean, how products and services connect, and whether you’re talking about the same basic concept, even if you’re using different words to express it.
When should you whiteboard?
You should whiteboard at the beginning, middle and end of your project, and especially anytime you get stuck. It’s the perfect way to get your understanding of a complex topic up on the board and let other people share what they think about it.
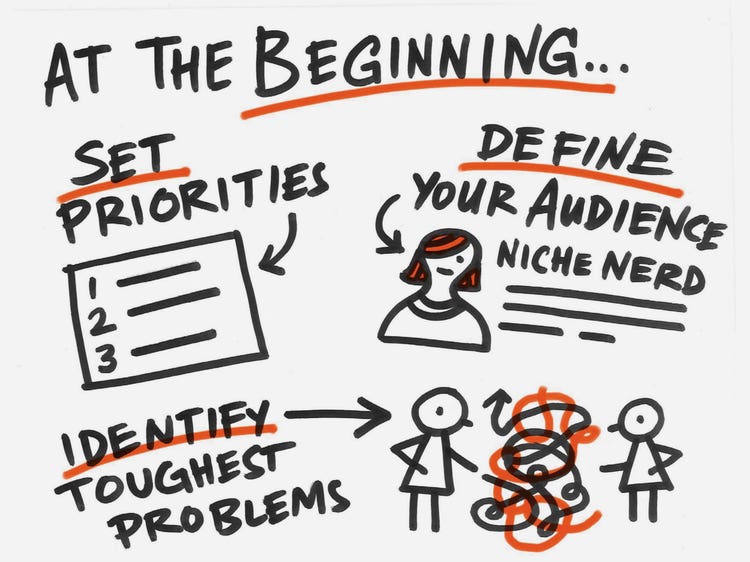
In the beginning use the whiteboard to record priorities and assumptions, to define who you’re designing your product for, and to capture the opportunities and challenges ahead. The start of a project is also a fantastic time to map out your team, your partners, stakeholders, and dependencies.
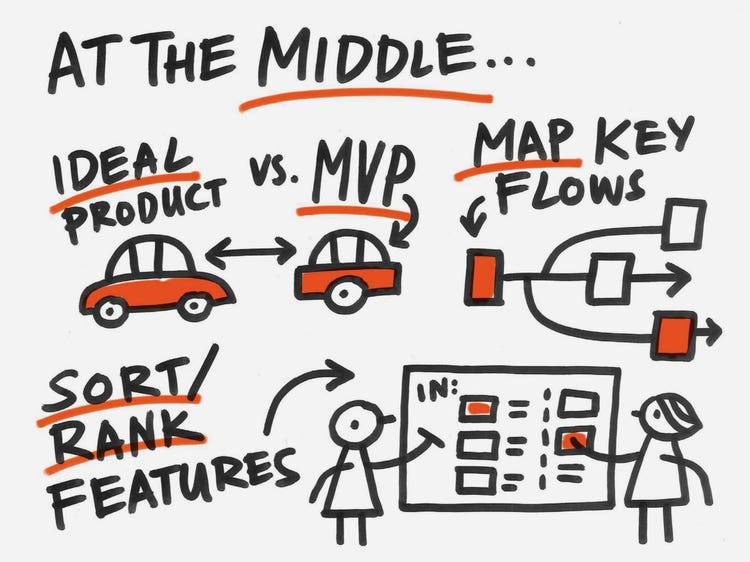
In the middle, whiteboard sessions are great at mapping out crucial flows, discussing your ideal product experience versus the MVP you’re going to ship, and prioritizing feature sets (sticky notes are great for that).
At the end you can use the whiteboard as an open canvas for retrospectives, letting your team share what worked, what didn’t work so well, and what the team needs to do differently (there are lots of great structures for retros and whiteboards are the perfect canvas).
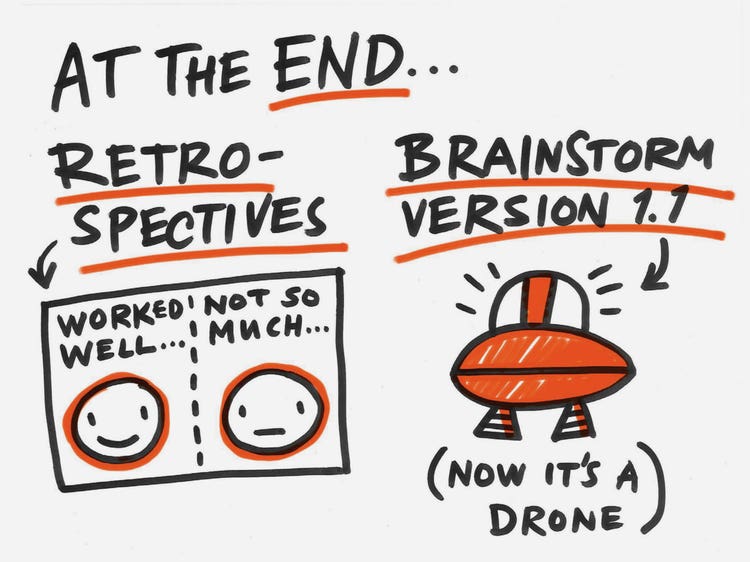
Whiteboards are also an excellent tool for brainstorms and design thinking workshops. I’ve shared some good models for those below!
What goes on the whiteboard?
Filling up all that whiteboard space can feel as intimidating as filling a blank sheet of paper, so creating a little structure helps. Here’s a basic layout for organizing your whiteboard for a big workshop:
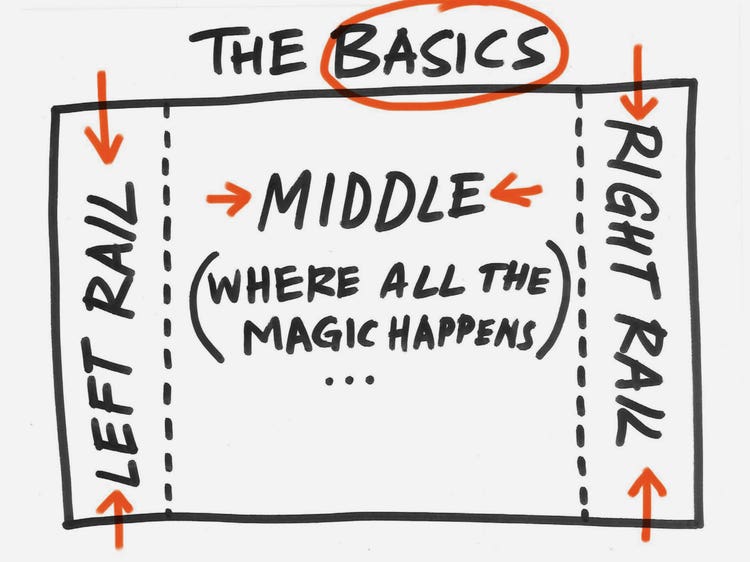
The left rail is for meeting info, the middle is for most of your content, and the right rail is for big questions, action items and a “parking lot.” I often sketch out this structure before the meeting begins. When people walk into the room they know it will be a structured conversation, versus a slideshow. When you tell them to close their laptops and put their phones down, having that structure on the wall makes device withdrawal easier.
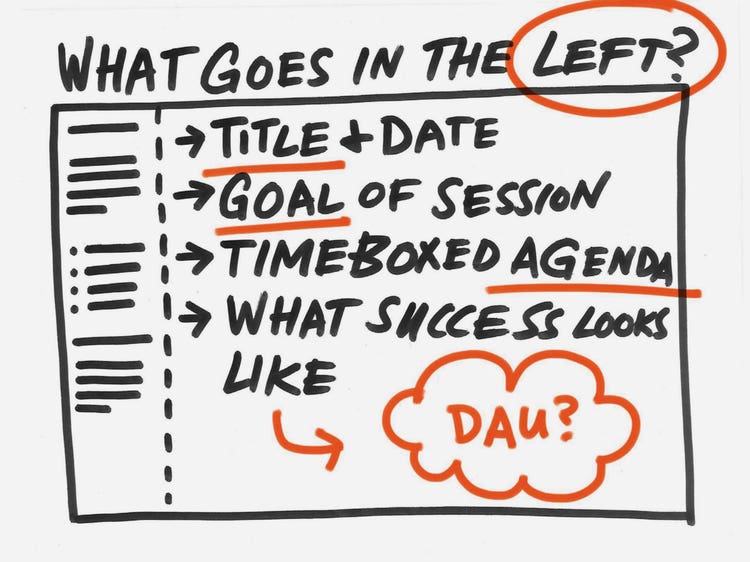
In the left rail give a title and date to your whiteboard. Not only does this make the meeting feel official, but it’s absolutely crucial to identify your meeting when you’re searching through the whiteboard photos in your camera roll. Add the goal of the meeting, to set expectations of what people are here to do. Add a time-boxed agenda, even if that agenda might change during the session. Agendas mean that you’ve broken the goal down into manageable steps. A good agenda means that you respect people’s time, and plan on using it wisely. If there’s a successful outcome for the project, write that down too.
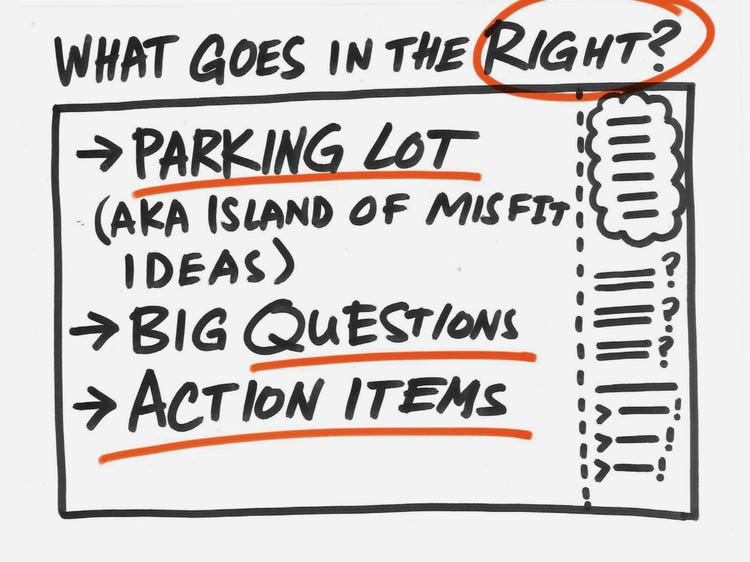
The right rail is where you put the big unexpected questions, or mission critical action items that come up during the meeting. It’s also the place where you put the Parking Lot, an incredibly useful tool to help manage the meeting dynamic. It’s where you put any ideas or topics that don’t quite fit with your stated goals. If you don’t have a Parking Lot, a random suggestion will bounce around in the minds of your participants, crashing into your agenda at unexpected times. Once you park that idea, it stays parked.
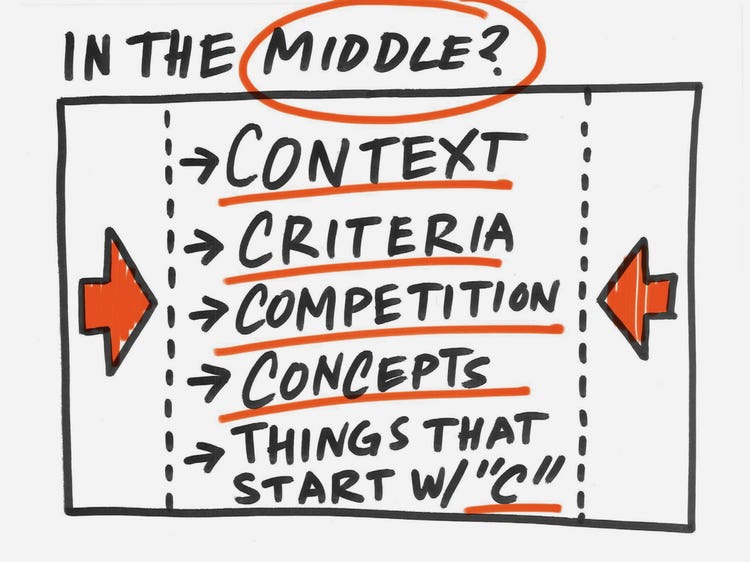
In the middle goes the good stuff, like context of usage, criteria for success, competitors and indirect competitors for your product, and concepts for what you might do next. It’s the working surface of your whiteboard. You’ll fill it up, take pictures and notes, erase it and fill it up again during a workshop (I usually leave the left and right rail up, just to keep the structure and Parking Lot intact).
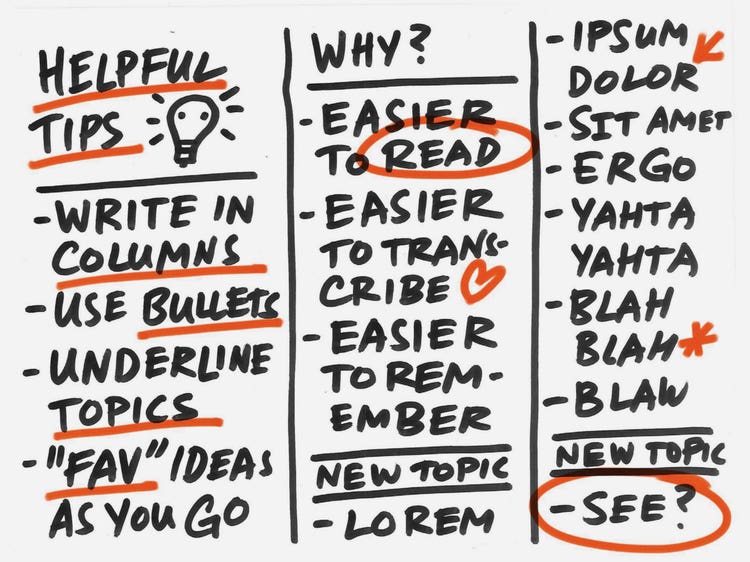
If I’m facilitating and/or scribing a conversation I tend to break the middle space into columns (blame my publication class in design school). It’s easier to document and read columns instead of free form, meandering sentences. Use bullets for each distinct idea or comment. Underline new topics as you move through the conversation. Circle or star those things that stick out to you, so you can remember them post-workshop. That’s all the basic whiteboard structure you need to get started. But wait, there’s more…
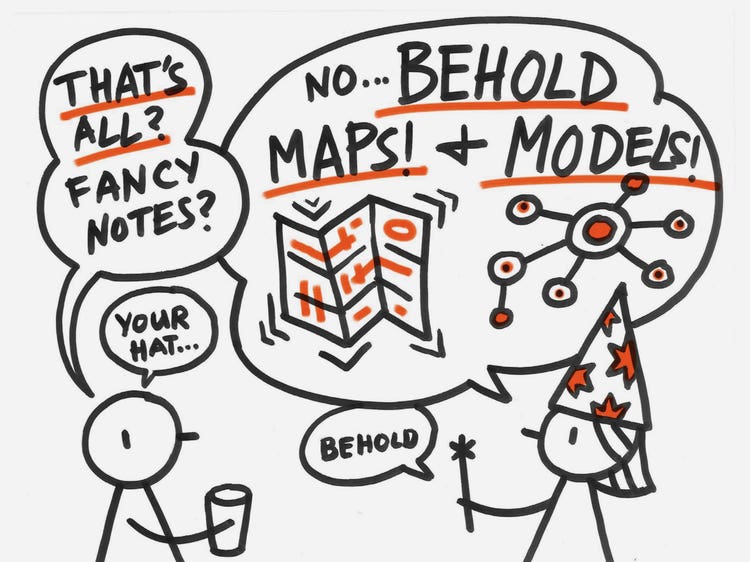
Behold, Maps & Models!
I wanted to share some models, beyond basic note-taking, that can really help to transform your meetings. Many of these come from working with designers, PMs, producers, researchers, and strategists at places like Continuum, Hot Studio, Facebook, Twitter, and Adobe. I’d think of them as recipes. You can use them for a variety of purposes: to start a design sprint, brainstorm with your product & engineering team, get aligned with stakeholders, or to kick-off new projects with clients.
I’ll give a brief rundown of each model, and how each can run as a workshop activity. In most workshops we end up stringing a couple of these together, usually ending in a brainstorm session after we’ve developed a shared understanding of the problem we’re trying to solve.
Whiteboard Model / Empathy Exercise
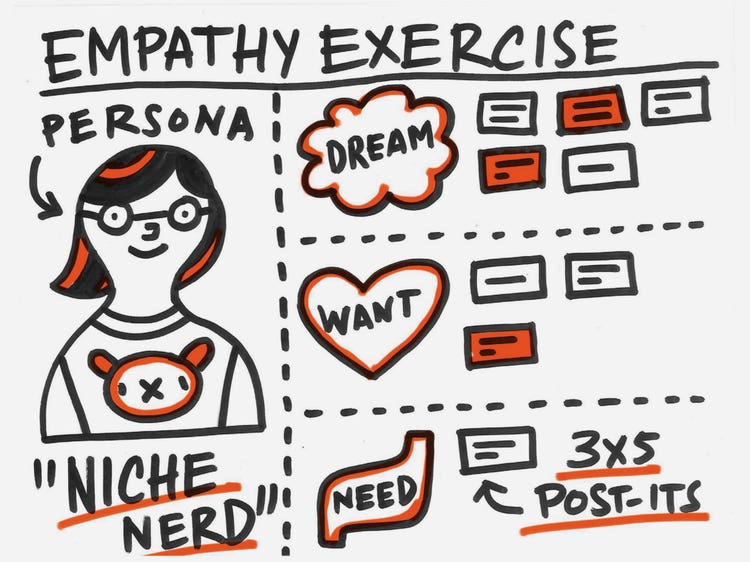
Empathy exercise works best with research in the room, or with people who have a good understanding of who their customer is. The primary purpose of this is not to unlock a brilliant, undiscovered insight, but to bring everyone up to the same baseline understanding of who the user is. The dark secret of product design is that everyone tends to start designing for themselves, even if they are not aware of it. Drawing a big friendly picture of the actual customer on the wall, and discussing what they need, want and dream about reminds everyone that this is not about you, this is about his/her/their needs.
Basically, it’s a simplified version of Maslow’s Hierarchy of Needs. You start by talking about what the user needs, then what they want, then what they dream about. It gets a little speculative, but it usually sparks a good dialog. The perfect follow-up is a short presentation from a researcher, if you’re lucky enough to have one on your team, where they share some unexpected insights about real users. This is a good warm-up exercise to start off the day. Participants write their observations on 3 x 5 sticky notes with permanent markers and hand them to the facilitators who read them off and post them on the board. Over the course of the activity the model fills up with people’s thoughts and perspectives about the user. You get a good sense of what people know and don’t know, and what they might need to learn.
Whiteboard Model / Context of Usage
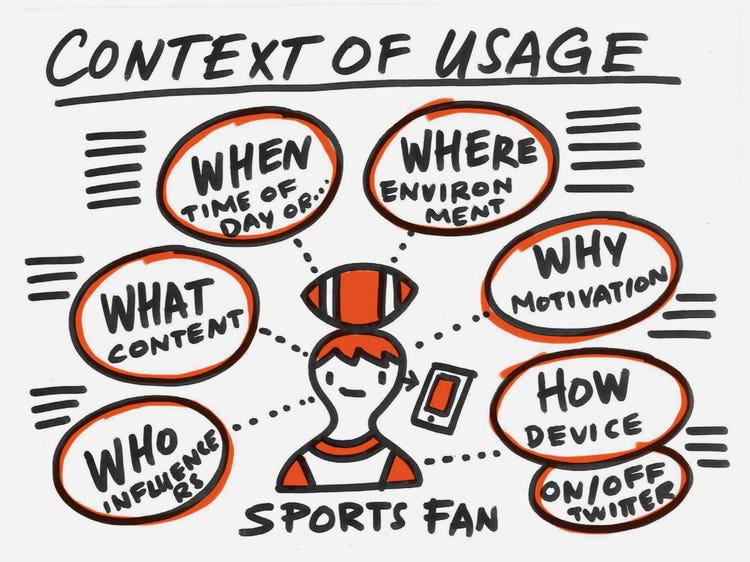
Context of usage is about mapping out when, where, how, and why people are using your product. Start by drawing a basic picture of your user (stick figures are OK) in the middle. Write these headings in a semicircle around it, then work your way around the circle, with participants calling out ideas and you recording them by each heading.
- Who are the people influencing or interacting with your user?
- What content or features are they engaging with?
- When are they using your product and how often?
- Where are they using your product; at work, at home, in-between?
- Why are they using your product; what’s their core motivation? What is their job-to-be-done?
- How are they using your product? If it’s a digital service, which devices do they use and how does that influence their experience?
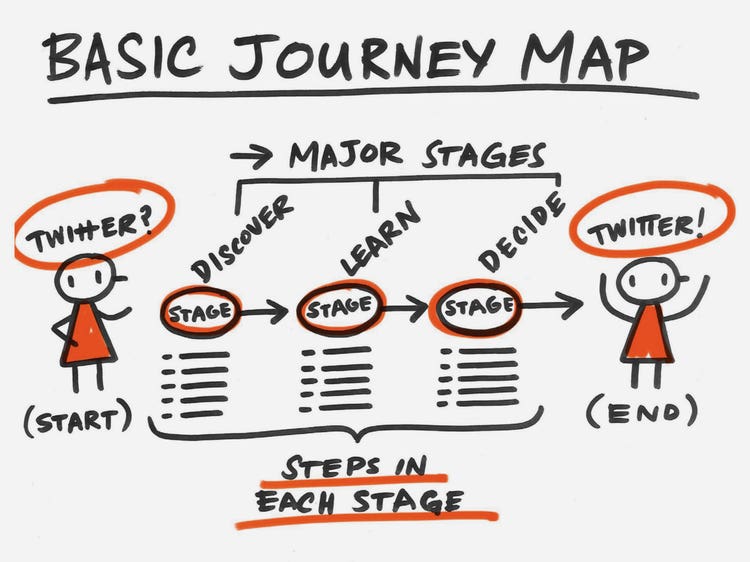
Whiteboard model / journey map
Journey maps are a useful starting point for understanding the path users take to discover and engage with your product or service. You can do them in countless different ways, but breaking a long complex process into major stages, and specific steps, is one simple way to draw it. It helps you to quickly understand all the touchpoints people come into contact with, and how each stage involves many different activities and decisions along the way. You can leave the structure blank, or map out the major stages then fill in the steps with your team, and if you need to add a stage or erase a step... that’s the magic of doing it on a whiteboard.
The journey map is a hypothesis; reality rarely lines up as neatly as the journey map you draw on the board. Real user journeys quickly branch into loops, trees and dead ends, but that’s a topic for a deeper dive. One good approach is to work with research teams or shadow users to understand their true journey, with all the bumps and bruises, so that when you define an ideal customer journey, you can seek to address the biggest pain points.
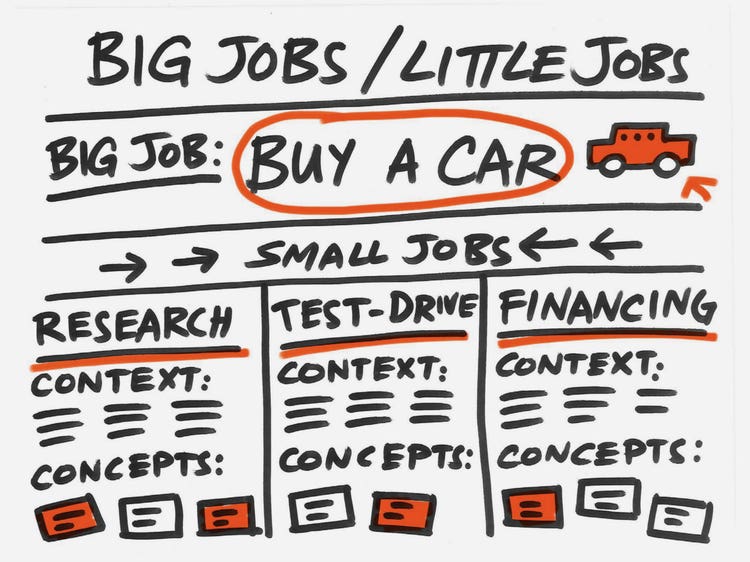
Whiteboard model / big jobs, little jobs
Big jobs/little jobs is an effective tool to break down a big decision or activity into all the smaller “jobs” that influence it. For instance, the big job of buying a car, breaks down into smaller jobs like research, test-drive, and financing. Each of the smaller jobs is surrounded by different contexts and challenges. Mapping out the challenges makes it easier to identify, and address, specific opportunities.
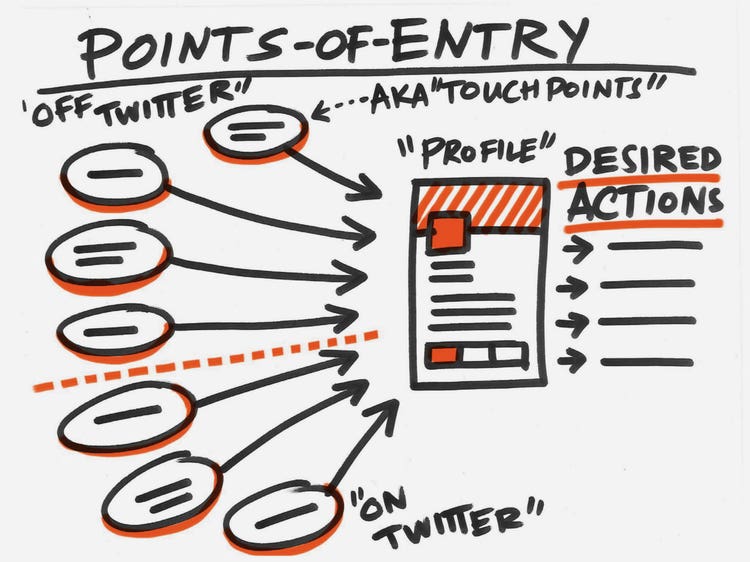
Whiteboard model / Points of entry
Points of entry documents all the paths users take to arrive at your product or service. If you’re working on a small part of a bigger digital service, ask yourselves how and why people will arrive at your part of the universe. When they land, what’s the most important thing for them to see first? What’s the action you want them to take? Work with your team to map out all the points of entry, and how different paths will affect the user’s state of mind.
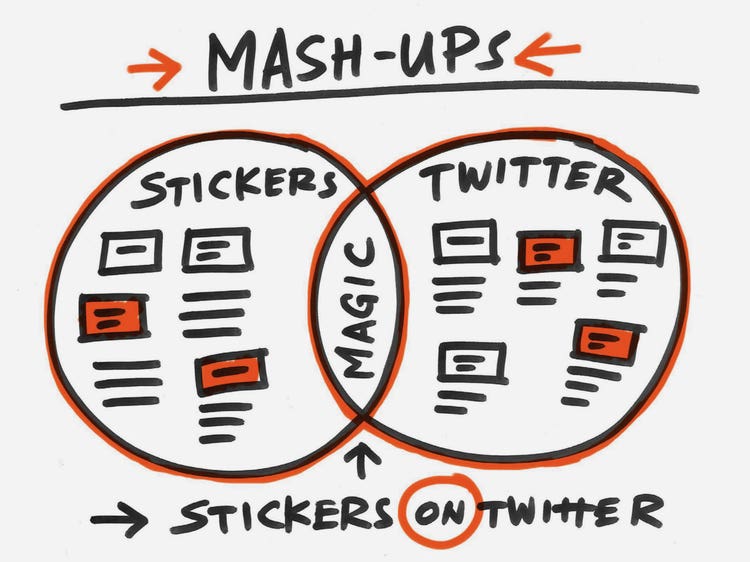
Whiteboard model / Mash-up
Mash-ups are a great brainstorm exercise when you want to figure out how to integrate two different, but complementary aspects of your product or service. Start by mapping out all the unique attributes, features and characteristics of your product. Do the same thing for the product or service that you want to integrate. The goal is to use the exercise to create a lens that helps you see both products and services differently. What are their shared characteristics and when does the overlap transform two products into something completely new?
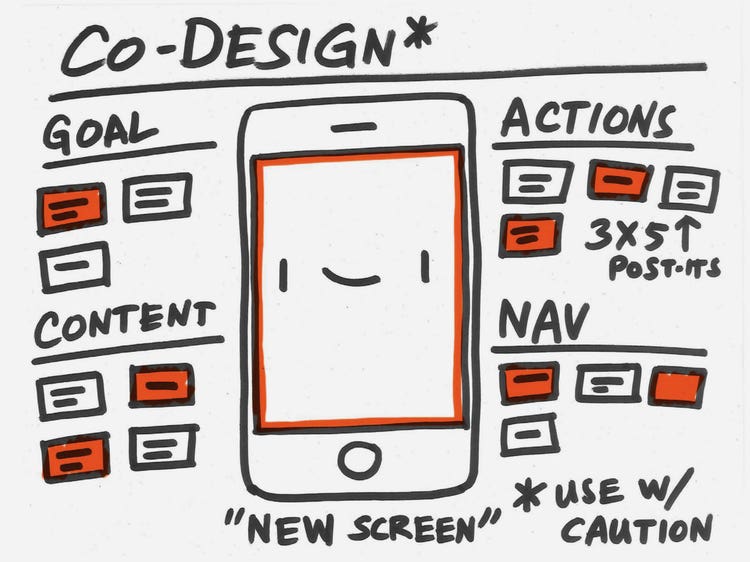
Whiteboard model / Co-design
Co-design is a great way to democratize the design process and allow non-designers to play a role in it. Start with a very crudely drawn box, just a simulation of the product you’re trying to design. Put the contents, features, and nav that will fill the screen on sticky notes to the right and left. Based on the goal, what are the features and content that are most essential to your product?
Let everyone advocate for the top things that they think should go in the box. Then strip out half of the content that you put in. You can create different variations and snap them with your phone. This is a good activity for small groups with good working relationships. It allows the non-designers to play a more direct role in the conversation, and to see just how quickly that box gets crowded if you put in everything that’s listed in the Product Requirements document.
How do you whiteboard?
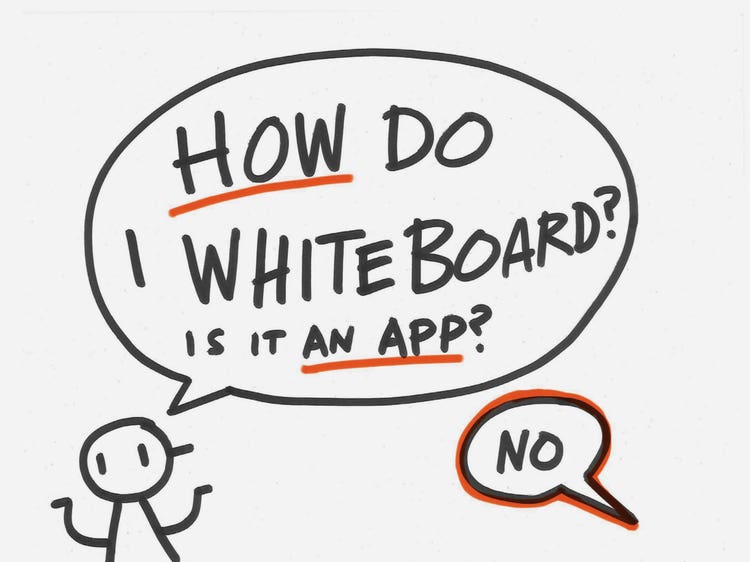
You don’t need an app, a laptop, a tablet, or a space-aged surface to run a whiteboard workshop. You need a few basic ingredients and the willingness to get up and write.
Basic ingredients for a whiteboard session
- A big whiteboard or flip charts (the kind you can stick on the wall). Find the room with the biggest whiteboard and book it for as long as you can (you’ll need time to set up and break down your session). If there is no whiteboard, paper the walls with flip chart sheets before your meeting.
- 3 x 5 sticky notes. This size is big enough to write a legible headline on, yet small enough to prevent participants from writing an essay. You can get them from Amazon if you can’t find them in a store near you.
- Fresh dry-erase markers in black, red, and blue. Skip the Green, it doesn’t photograph well, and when you’re documenting from your photos you want to be able to see what you wrote.
- Permanent markers for your participants. Use these when people need to write on sticky notes during exercises; they force people to write bold headlines. They also make it way easier to read the ideas when you’re documenting the session from your whiteboard photos later. But don’t write with a permanent marker on the whiteboard. Do not write with a permanent marker on the whiteboard!
- A camera or mobile phone. It’s useful to document the session with images throughout, so you can erase and reuse the board and make sure all the ideas are captured. Have two people document, so if you lose your phone you don’t lose all those precious ideas.
- A clock or timer. It’s useful to have a time-boxed agenda and have someone playing “time cop” to keep the workshop moving along. Give each exercise just enough time, then move to the next activity when things slow down.
- Coffee, tea, and snacks. You want to keep everyone’s blood sugar up and ideas flowing. If you’ve got it in the room it doesn’t give people an excuse to wander away.
The power of sticky notes
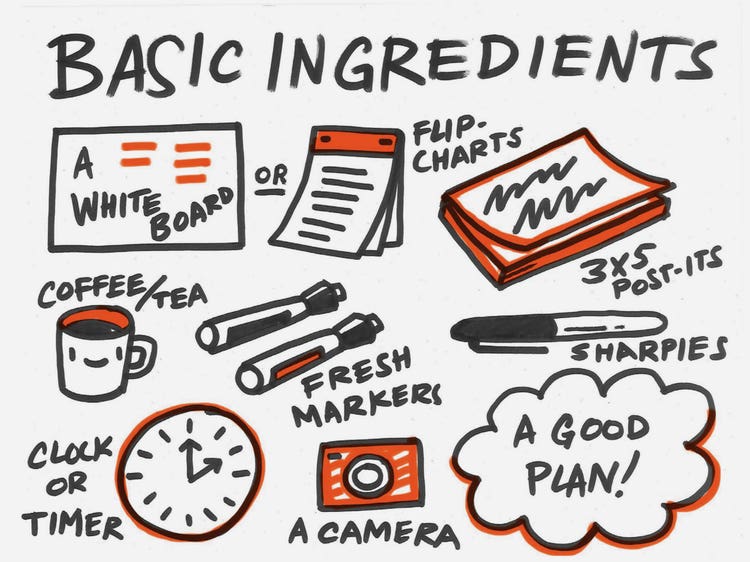
Sticky notes play a lot of valuable roles throughout the session. They are flexible, tangible and easy to move, cluster, and combine with other ideas. But they also help to democratize brainstorms. I usually mix sticky note exercises with discussions or scribing activities because they let everyone write down their ideas.
Open discussion sessions, where everyone is verbally contributing, favor the extraverts in the room; the people comfortable with their own voice and passionate about their opinions. You don’t always get to hear from the quiet, more deliberate thinkers in those sessions. Sticky notes level the playing field; giving everyone the space to think and write down their ideas before sharing them. Typically I mix big open conversations with sticky note sessions and small group work.
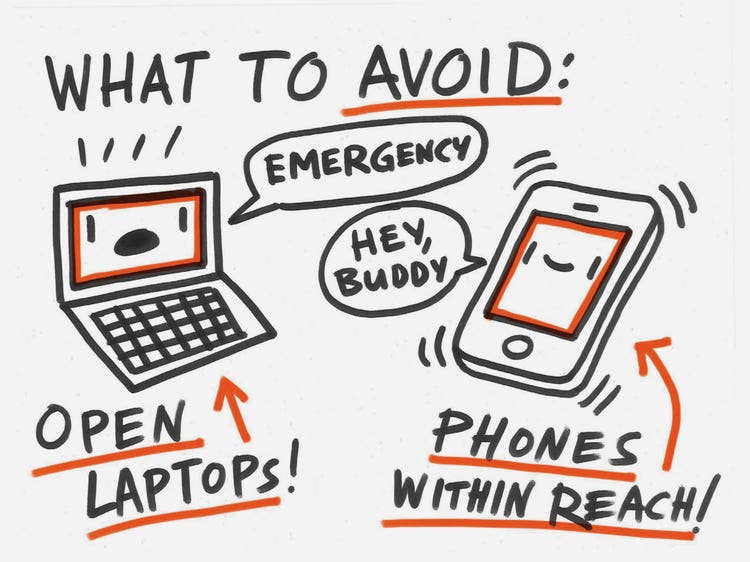
Things to avoid: open laptops and buzzing phones
Have people close their laptops and flip their phones over. Slack, email, Twitter, and TikTok can wait. People rarely get the chance to have focused, productive conversations at work and this is their chance to put all their thought and insight into the challenge at hand. Help them focus by asking them to set their distractions aside.
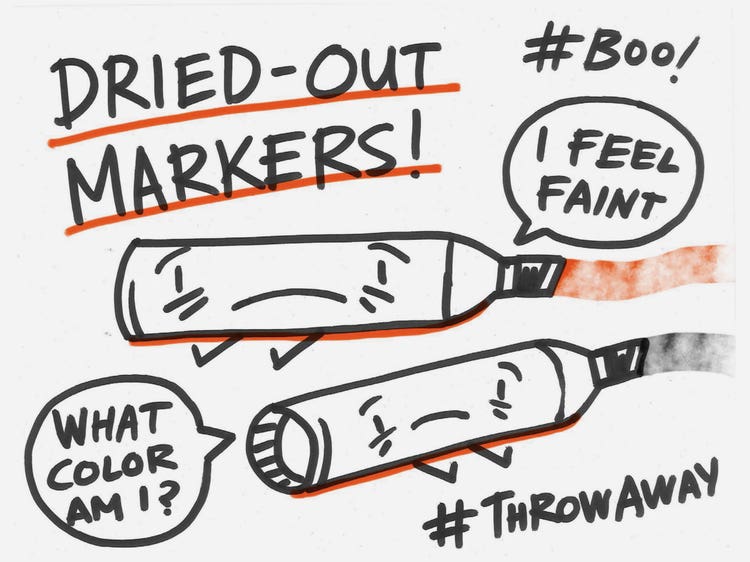
Things to avoid: dried-out markers
There is a place for dried-out markers: the trash. Dried-out markers lurk like vampires in forgotten conference rooms, ready to suck the life out of workshops, by making your ideas illegible and leaving everyone squinting and confused. When you start writing with a marker and you’re not sure what color it is, throw it the #%&@ away. THROW IT AWAY!
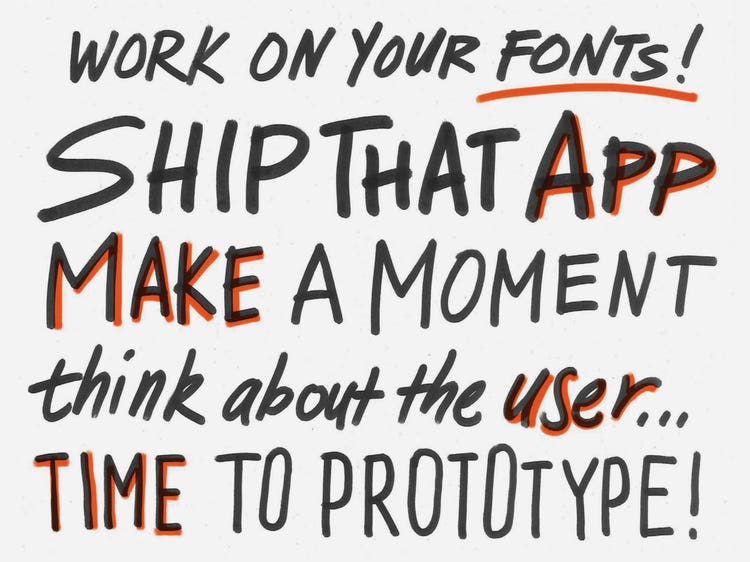
Work on those fonts!
Everyone’s whiteboard writing is terrible at first. It takes a while to turn your mouse-hand into an effective writing tool. But it gets better. The more you write, the clearer it gets. Pretty soon your shoulder will be like iron and you’ll be a whiteboard calligrapher. But don’t limit yourself to just using words, why not try some basic shapes?
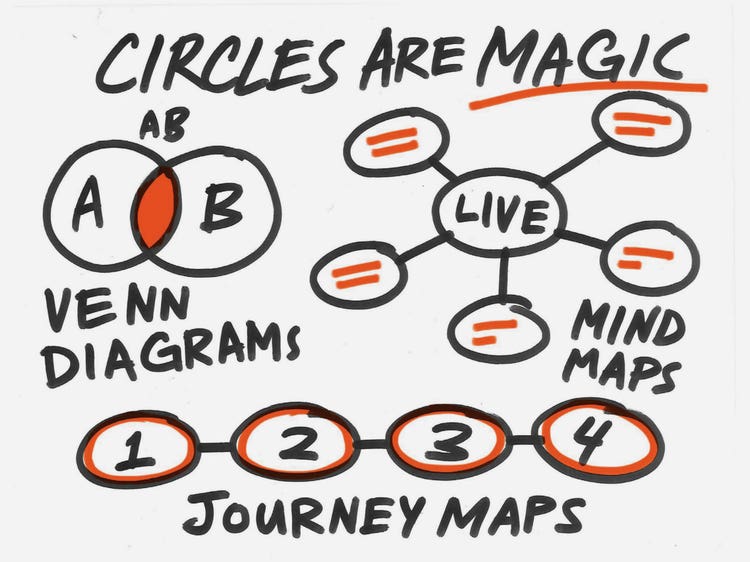
Circles are magic!
If you can draw a circle, or an oval, or even a roughly circular blob, there are so many diagrams and maps and models you can make. Adding a circle to your whiteboard adds emphasis and focus... even drama. What will go in the circle? What will be left outside? You’ll immediately capture your participants' attention.
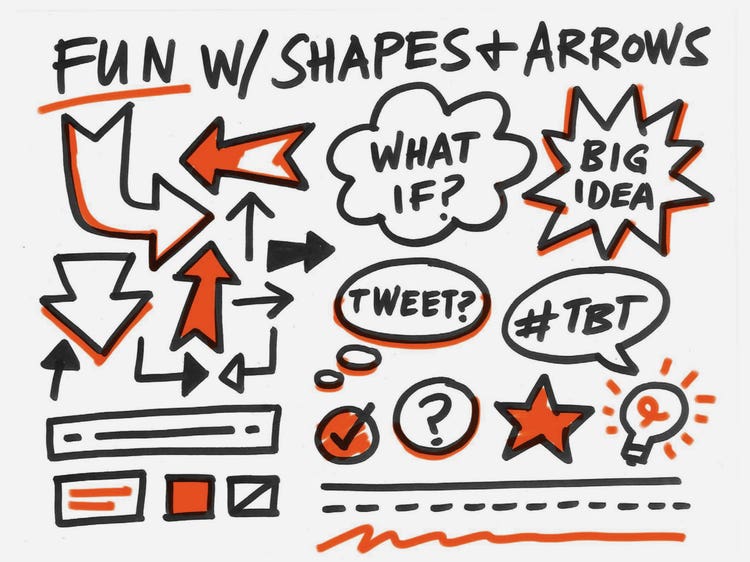
Fun with shapes and arrows
If you think circles blow people’s minds, try some of the advanced whiteboard graphics above. Don’t get scared; they’re just a bunch of lines, triangles, and squiggly shapes, but they create drama, highlight important ideas and help people break out of their bullet-pointed point of view.
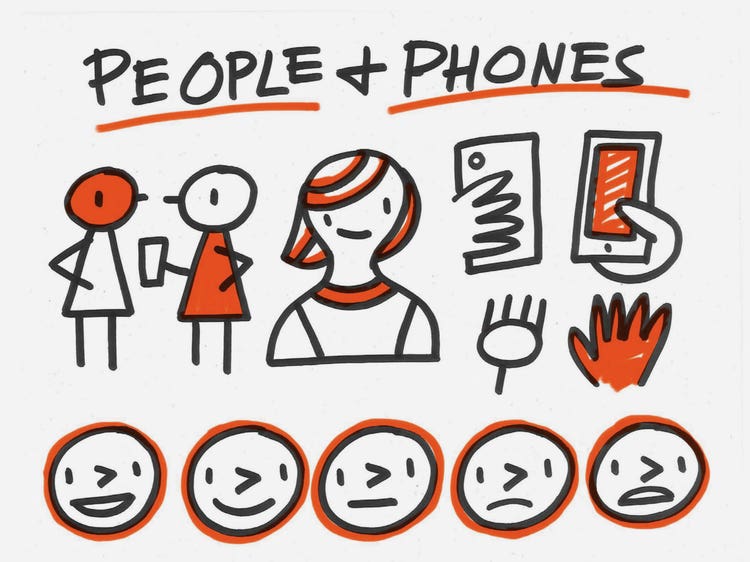
Stick figures and smiley faces
Finally, it’s good to get comfortable drawing things that signify people. They don’t need to look the slightest bit realistic; smiley faces and stick figures are perfect. A hand can look like a fork, and a phone can look like a toaster pastry. It doesn’t matter; that tiny bit of representation will bring warmth and humanity to your whiteboard session. You probably doodle things like this already during long meetings; just enlarge your doodles by 800% and put them on the board.
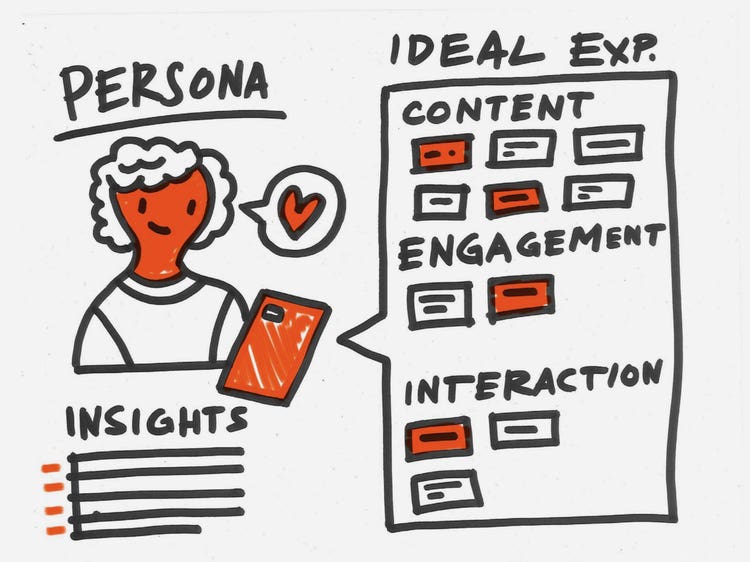
Put it all together
Once you get comfortable with basic shapes and writing on the whiteboard you can begin stringing them together into more advanced layouts like the one shown above. The goal is to create structures for collaboration and co-creation, not works of art. The magic happens when that model fills up with everyone’s ideas.
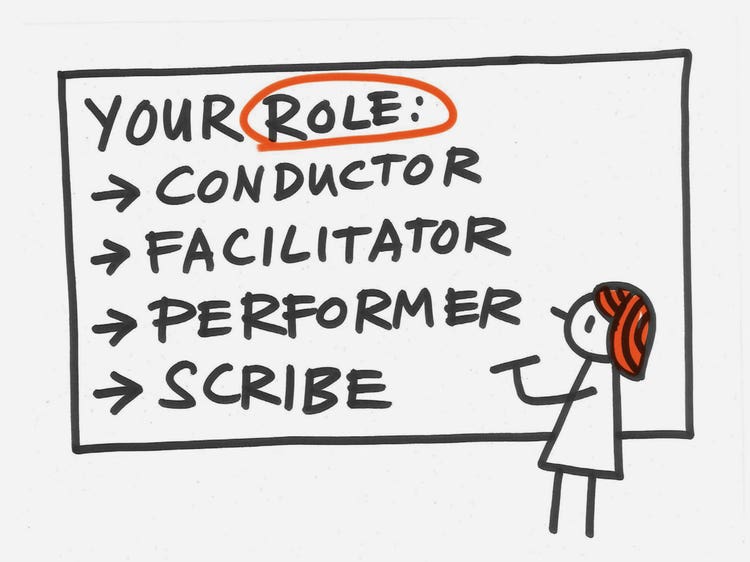
Your role
When you’re running a whiteboard session you’ll play a lot of different roles:
- Conductor: You own the structure of the meeting; you need to make sure the activities work smoothly, and that you meet your goals for the session.
- Facilitator: Your job is to cultivate and encourage the flow of conversation and ideas, helping everyone to participate and contribute.
- Performer: You’re acting as the MC; you need to hold and focus people’s attention, by any means necessary. Respond to ideas you find exciting, be expressive and keep your participants energized.
- Scribe: The most important part is writing down the words; capturing the ideas and recording them so you can act on them later.
It’s a lot to take on by yourself, and you don’t have to. Recruit some teammates to join you, then take turns facilitating, moderating and scribing for different parts of the session. Workshops work best with two to three people to share the different roles.
Best practices
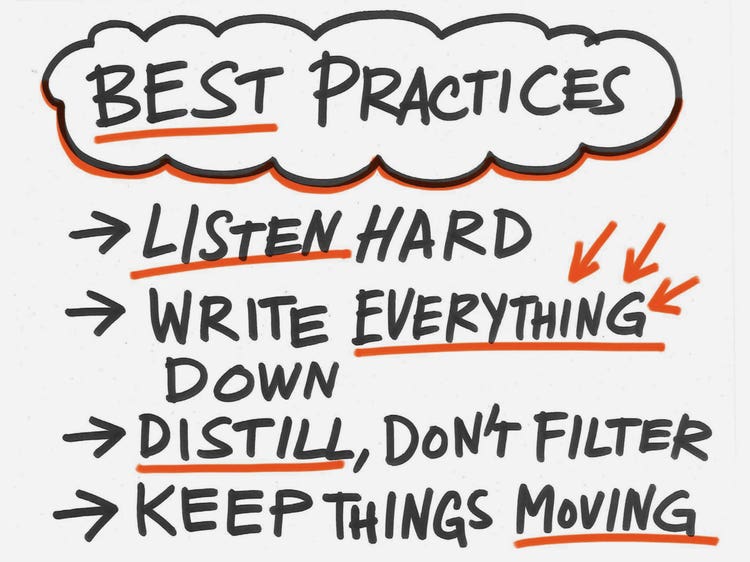
Listen deeply. You’ve got your back to the room, scribing madly to record all the ideas floating through the air. It takes all of your attention to make sure you’ve captured the important points. I ask people to slow down, speak in headlines, and to not talk over each other. If there’s a big idea I didn’t quite hear, I turn around, focus on the person and ask them to repeat what they said. It shows that you’re paying attention and that you care about their perspective.
Write down everything you hear, to the best of your ability. Don’t edit people out, even if they say something completely ludicrous. People will test you, just to see how open and receptive you are. When you write down everything it shows the participants that you’re there to integrate their thinking, not critique it or edit it.
Distill, don’t filter. You don’t have to incorporate “um,” “like,” and “I think.” You’re not a court reporter, your job is to capture what they mean, not every sound they make. If you can boil a long statement into a crisp headline without losing the meaning, go ahead. Do your best to write down the essential details of each comment.
Keep things moving. You’ll know when your team is running out of steam. Change topics, start the next activity, have a quick break, bust out the cookies. Do what you need to to boost the energy of the room back up.
Seize the marker!
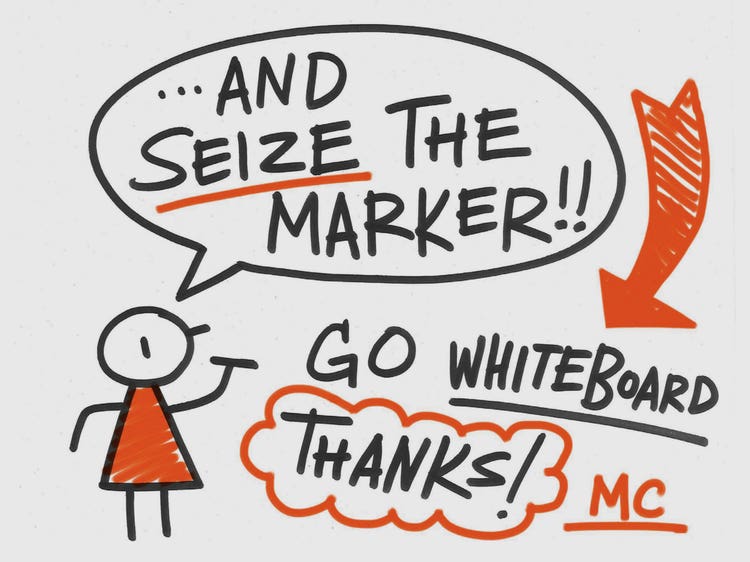
Hopefully some of the tools and advice I’ve shared will help you to incorporate whiteboarding into your daily practice, or integrate a whiteboard activity into your next workshop. This is a rough draft, not a TED Talk. If you’d like to learn more about any of the models or methods in the article please comment away and I’ll plan some deeper dives in the future. Until then, SEIZE THE MARKER!
A few good books
I skimmed the surface in this article, based on my personal experience. If you’d like to dive deeper into the intersection of drawing, design thinking and business, here are a few great books and resources:
- Pencil Me In: The Business Drawing Book for People Who Can’t Draw by Christine Wodtke
- The Doodle Revolution: Unlock the Power to Think Differently by Sunni Brown
- Gamestorming: A Playbook For Innovators, Rulebreakers, And Changemakers by Dave Gray
- The Back of the Napkin: Solving Problems and Selling Ideas with Pictures by Dan Roam
- Ed Emberley’s Drawing Book: Make a World by Ed Emberly
This article originally appeared on Medium.